Installing solar panels on your RV allows you more freedom to camp anywhere you want without having to have an electrical hookup. There are a couple ways to go about installing solar panels on your RV, and we’re offering some RV tips below for the process.
Method 1: Have Us Do It!
If you’re not feeling super confident about installing your own solar panels, our RV service department is happy to help! Dealing with wiring or anything electrical needs to be done right, for both quality and safety reasons, so if you don’t feel 100% confident in the process, contact us and we can handle it quickly and easily!
Method 2: DIY!
This is just a quick overview of the process, and should only be considered general guidance on the step by the step. Make sure to read your solar kit instructions thoroughly, and more than once, to familiarize yourself with the process. If you have any questions at all, contact us. Please utilize common sense and all safety measures – such as never touching electrically active components while the panels are exposed to light, and not installing the panels during inclement weather. Any day you can spare yourself electrocution is a good day! Stay smart, and stay safe.
- If you have rigid solar panels, they will be affixed to your RV roof using screws. If you have flexible panels, you may use screws, but they’re usually affixed with adhesive. Find out your RV’s roof membrane material because this determines what kind of adhesive you need to use.
- Determine the placement of your panels on the roof, and mark where you want them to go. Stay away from anything that may cast a shadow or shade, such as vents or AC units.
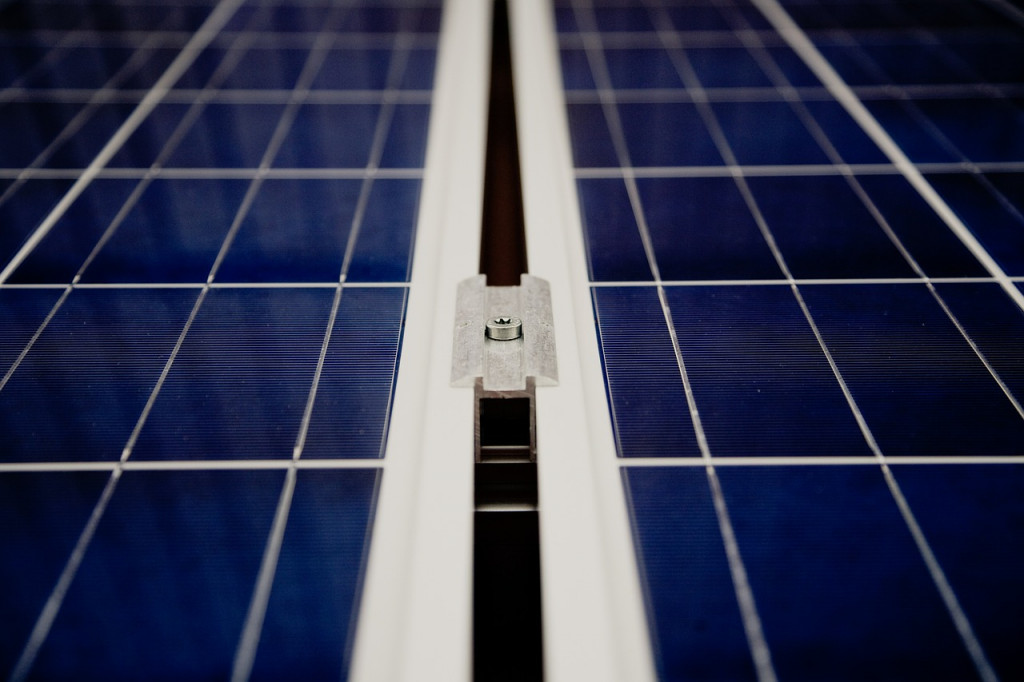
- Attach the hardware (if using) to your panel frames. Be absolutely certain you only put screws through the frame, rather than the solar panel itself. Attach the panel with hardware to the marked places on your RV roof.
- Run the wiring: send the solar panel power cable into the RV where you will attach it to the charge controller. Most people send the power cable through the refrigerator vent or plumbing pipe because it provides the access you need without drilling an extra hole in your RV.
- Mount the charge controller close to the batteries. Test the wire polarity on your panel wires using a multimeter (safety first!) and follow the solar kit instructions for connecting the wires to the charge controller.
- Install a power inverter, also near the batteries, if you plan to use AC-powered appliances. Solar panels provide DC power, so you’ll have to convert that to useable electricity. Connect the wiring system to the electrical system in your RV, beginning with negative wires first.
DIY solar panel installation isn’t difficult, but getting it right is essential to safe and effective installation. Please don’t hesitate to contact us to schedule solar panel installation with our RV service department if this is a feature you want on your new or used RV, but don’t have the time to do yourself! Happy trails!
